From Provo to Paris.
Cheers to making more memories, running away, getting lost, confusing people, and doing what's right for us. There's no one else I'd rather be on this wild ride with.
Video: Duncan Wolfe
Music: Blood by The Middle East
Monday, December 7, 2015
Tuesday, September 29, 2015
My First Apartamento
I'm so inspired by Nowness' My First Apartamento series. Thinking about making one before I move out of my place for memory's sake.
Here's espisode four of Florence Welch:
Friday, September 18, 2015
Saturday, August 1, 2015
Crack Pie.
One of the things I love about New York is Momofuku Milk Bar. I love their cereal milk soft serve, birthday cake truffles, and crack pie! Since NY is miles away from California, i decided to take a stab at Crack Pie! It was a fairly easy recipe from Bon Appétit and it tasted just like Momofuku's! Best served when chilled for a day!
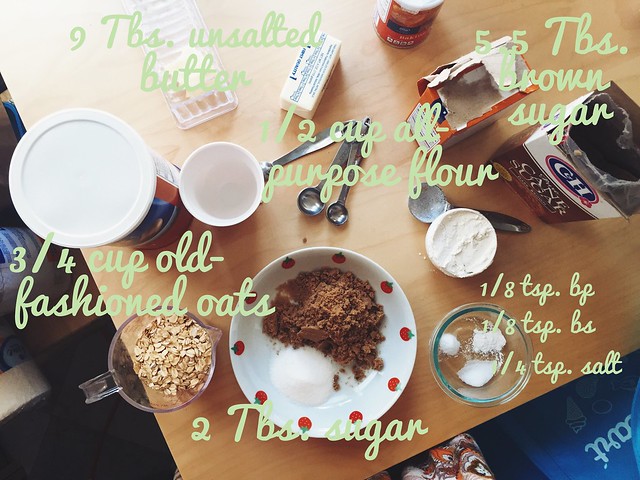
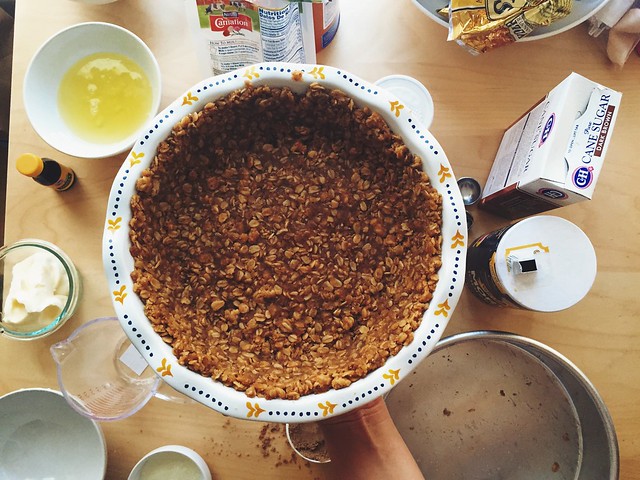
STEP 1: THE CRUST
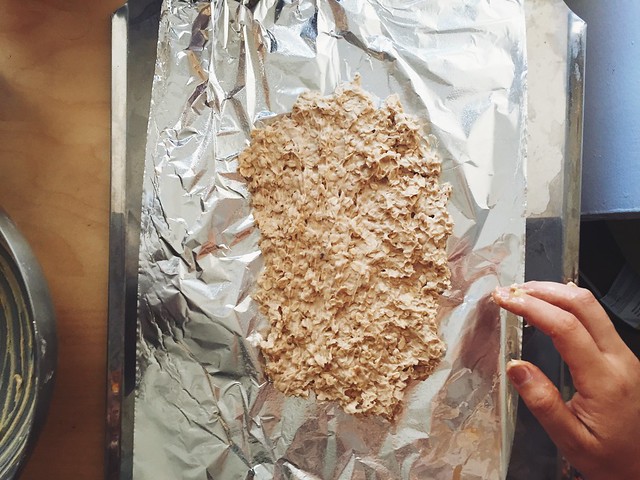
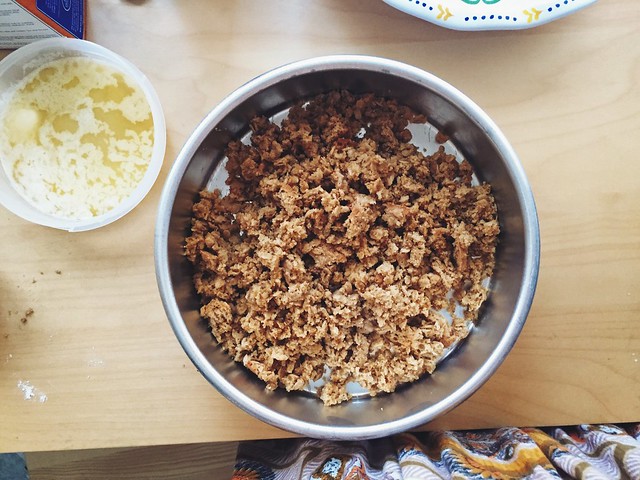
So the crust is pretty much a simple oat cookie. Once you bake a slab of oat cookie, you pretty much just crumble it up and add some melted butter to moisten it. Add a sprinkle of salt and brown sugar and then form a pie crust!
STEP 2: THE FILLING
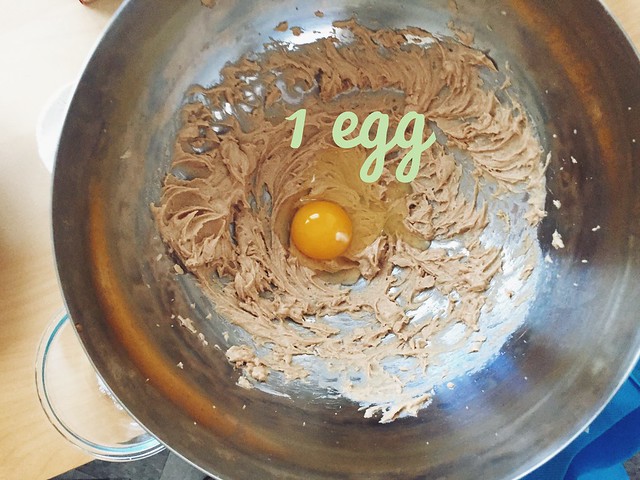
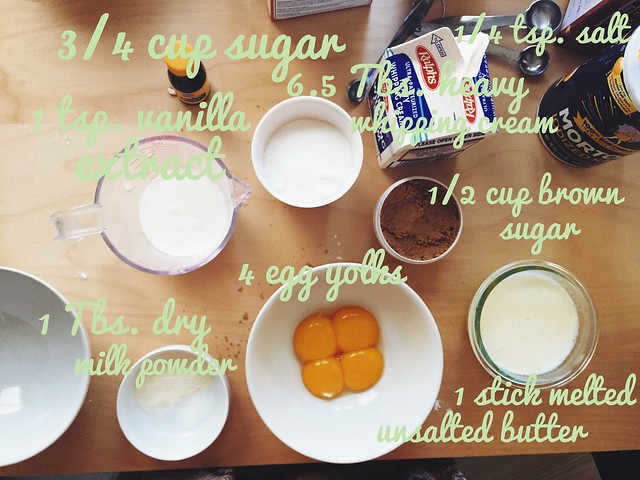
The trick to this rich filling is to mix it slowly. I love to go all crazy with my KitchenAid mixer, but it's important to keep it at a low mixing level. You don't want to form airy bubbles in your filling.
Also, there's a little funky temperature change that needs to happen in the oven. Bake for 30 min at 350 degrees, and then open the oven, drop the temperature to 325 degrees, bake for another 20 minutes. The edges should be a little darker, while the middle is still jiggly. Refrigerate for 2hrs.

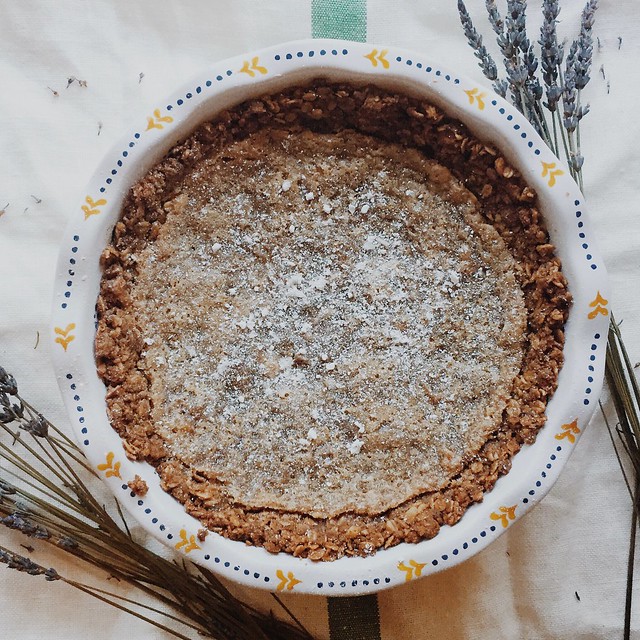
STEP 3: SPRINKLE SOME POWDERED SUGAR & EAT!
Ta-da, Crack Pie! The filling is similar to a pecan pie.
//kaesi
STEP 1: THE CRUST
So the crust is pretty much a simple oat cookie. Once you bake a slab of oat cookie, you pretty much just crumble it up and add some melted butter to moisten it. Add a sprinkle of salt and brown sugar and then form a pie crust!


STEP 2: THE FILLING
The trick to this rich filling is to mix it slowly. I love to go all crazy with my KitchenAid mixer, but it's important to keep it at a low mixing level. You don't want to form airy bubbles in your filling.
Also, there's a little funky temperature change that needs to happen in the oven. Bake for 30 min at 350 degrees, and then open the oven, drop the temperature to 325 degrees, bake for another 20 minutes. The edges should be a little darker, while the middle is still jiggly. Refrigerate for 2hrs.


STEP 3: SPRINKLE SOME POWDERED SUGAR & EAT!
Ta-da, Crack Pie! The filling is similar to a pecan pie.

//kaesi
Emily Katz has my dream home
I was looking through macrames and found Emily Katz through Instagram. Her feed is full of light, weaves, and killer design. I'm absolutely obsessed with her Portland home.


Sources:
https://instagram.com/emily_katz/
http://theweaverhouse.blogspot.com/2014/04/emily-katz-at-home.html
http://emilykatz.com


Sources:
https://instagram.com/emily_katz/
http://theweaverhouse.blogspot.com/2014/04/emily-katz-at-home.html
http://emilykatz.com
Monday, July 27, 2015
Ichigo Pie
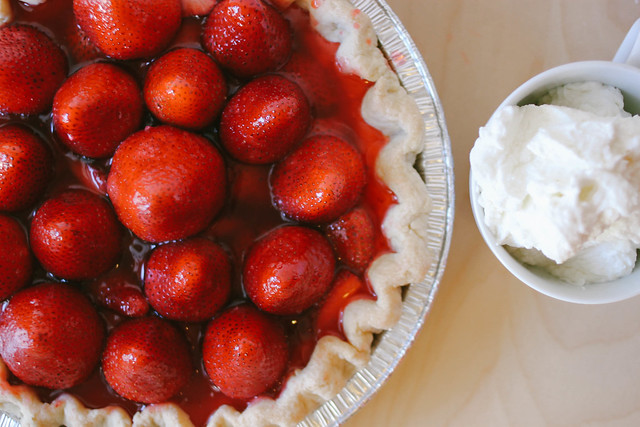
I've been on a baking binge lately! Today I'm going to show you how I made one of my favorite pies - Strawberry Pie!
Step 1: THE CRUST
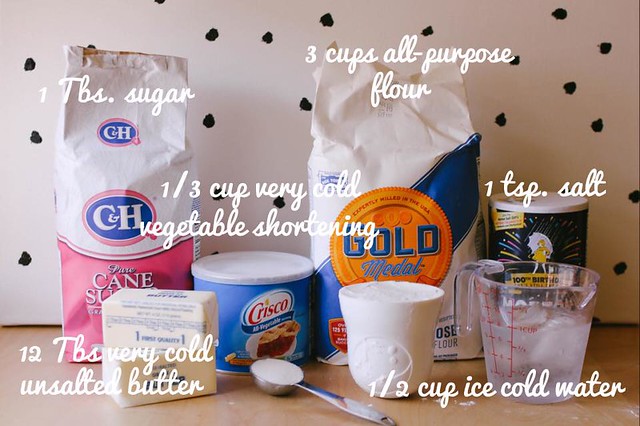
The science behind the perfect flaky crust is cold and fat. Literally.
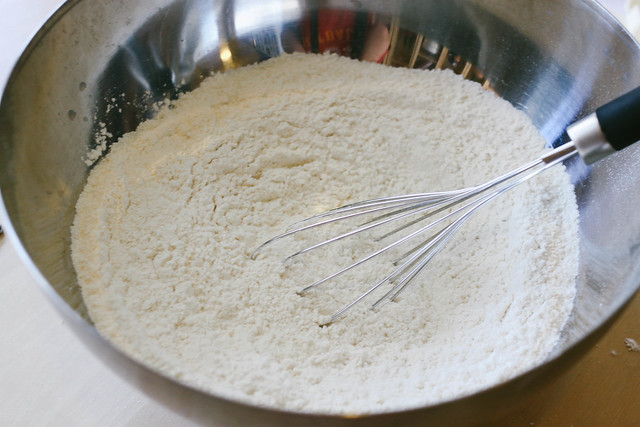
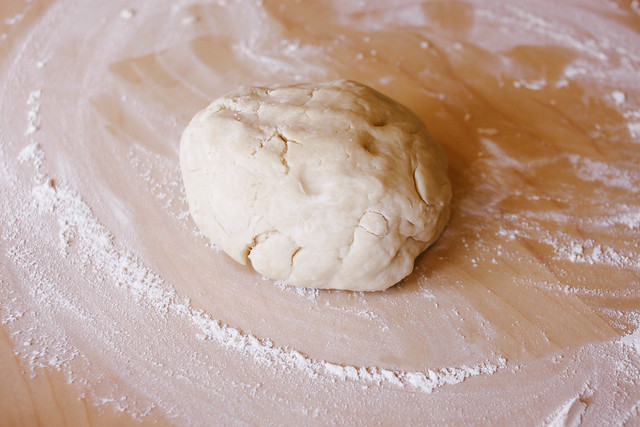
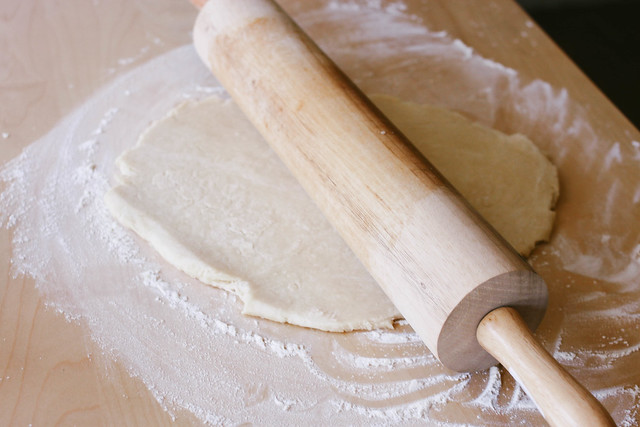
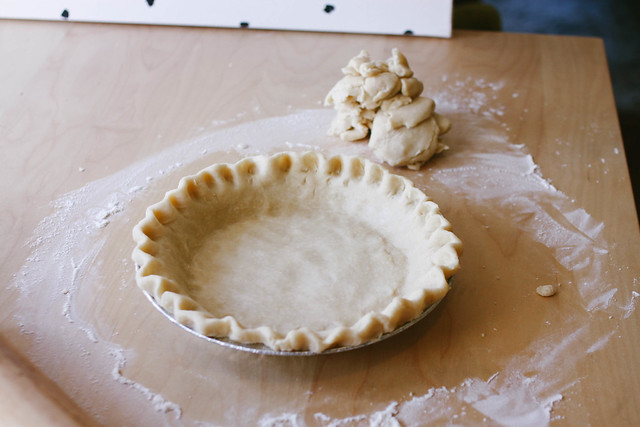
Step 2: THE FILLING
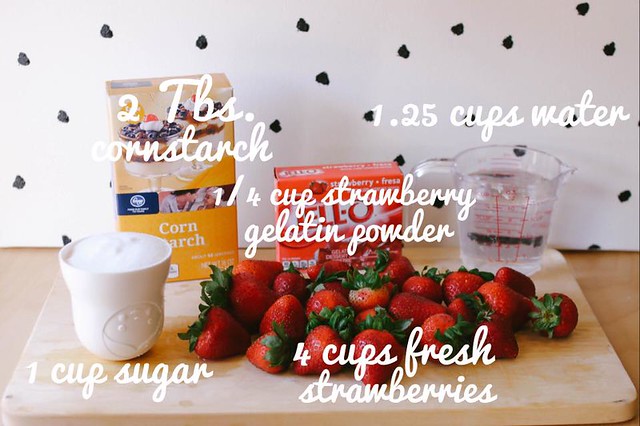
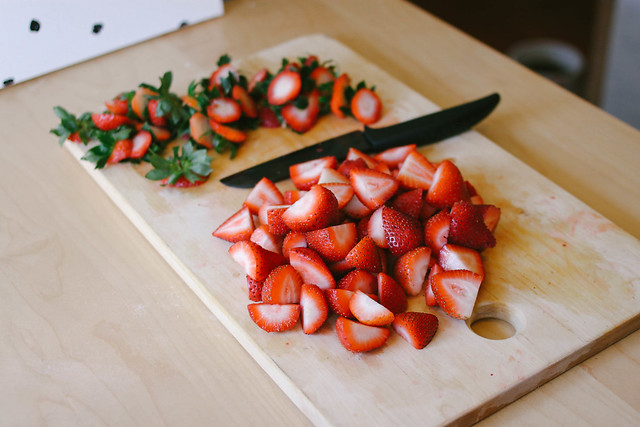
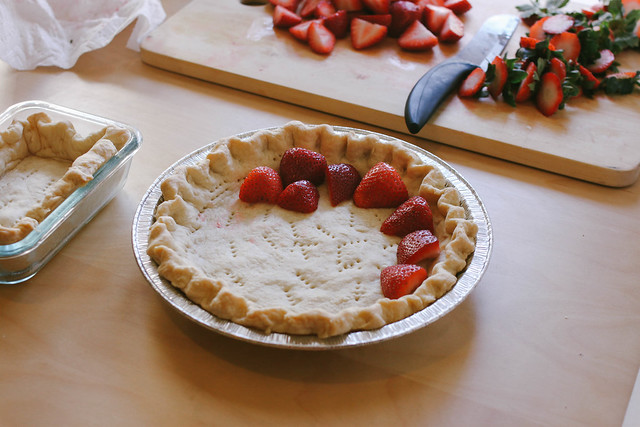
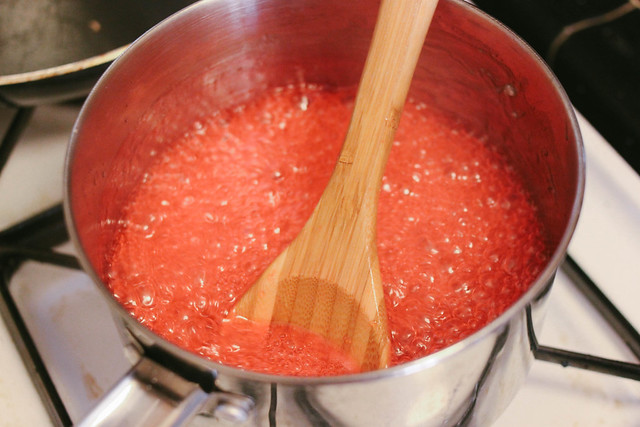
This part was pretty easy. The only tricky part was boiling the dry ingredients together. Put in the cornstarch before the water starts to boil and mix it thoroughly. Otherwise, you'll end up with some globs of chewy gelatin (which I actually kind of enjoyed). Cut your strawberries and put the ugly ones on the bottom.
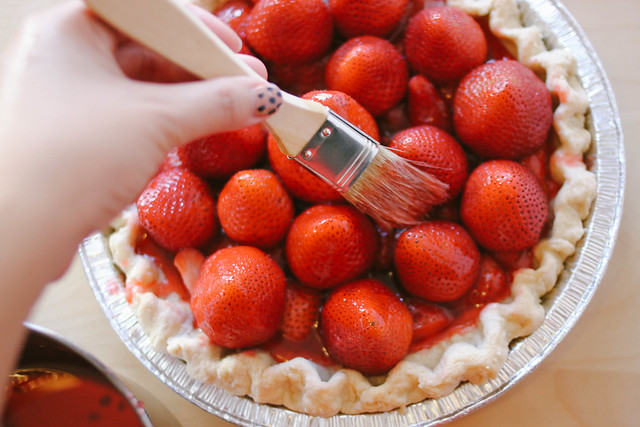
Step 3: WHIPPED CREAM
While your pie is settling in the refrigerator, you can make an easy whipped cream! All you need is heavy whipping cream and confectionary sugar. The trick is to whip the heavy whipping cream a little bit first before you add in the sugar. It allows the mixture to reach at peak faster. I don't really have measurements for this. You can just add whatever you like based on your desired sweetness.
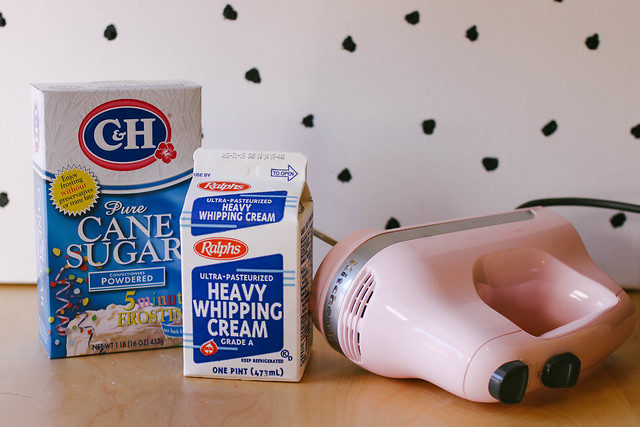
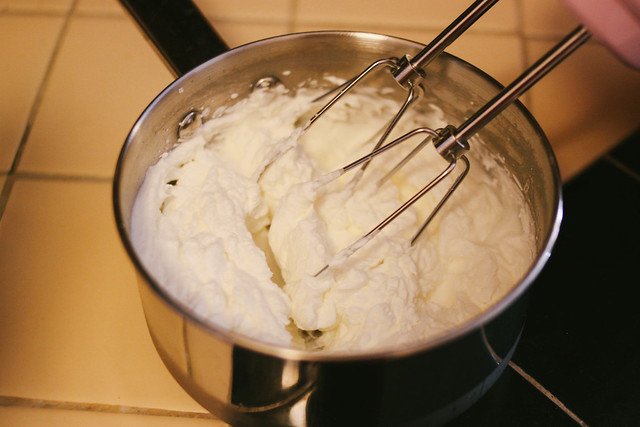
Step 4: ADMIRE & EAT!
Look at your cute strawberry pie! Admire its perfectly flaky flaws and stare at its sweet, red glaze. Look at that fluffy, white cream! Now put them together and eat! So delicious!
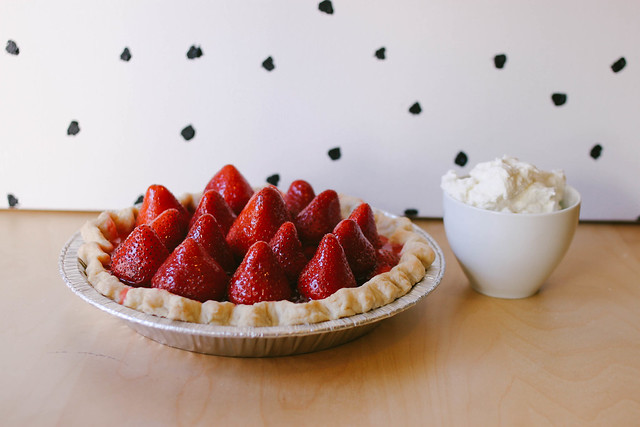
PS: Links to the recipe:
Crust: http://www.foodnetwork.com/recipes/ina-garten/perfect-pie-crust-recipe.html
Filling: http://www.food.com/recipe/easy-strawberry-pie-46649
//kaesi
Step 1: THE CRUST
The science behind the perfect flaky crust is cold and fat. Literally.


Step 2: THE FILLING
This part was pretty easy. The only tricky part was boiling the dry ingredients together. Put in the cornstarch before the water starts to boil and mix it thoroughly. Otherwise, you'll end up with some globs of chewy gelatin (which I actually kind of enjoyed). Cut your strawberries and put the ugly ones on the bottom.


Step 3: WHIPPED CREAM
While your pie is settling in the refrigerator, you can make an easy whipped cream! All you need is heavy whipping cream and confectionary sugar. The trick is to whip the heavy whipping cream a little bit first before you add in the sugar. It allows the mixture to reach at peak faster. I don't really have measurements for this. You can just add whatever you like based on your desired sweetness.


Step 4: ADMIRE & EAT!
Look at your cute strawberry pie! Admire its perfectly flaky flaws and stare at its sweet, red glaze. Look at that fluffy, white cream! Now put them together and eat! So delicious!


PS: Links to the recipe:
Crust: http://www.foodnetwork.com/recipes/ina-garten/perfect-pie-crust-recipe.html
Filling: http://www.food.com/recipe/easy-strawberry-pie-46649
//kaesi
Sunday, July 26, 2015
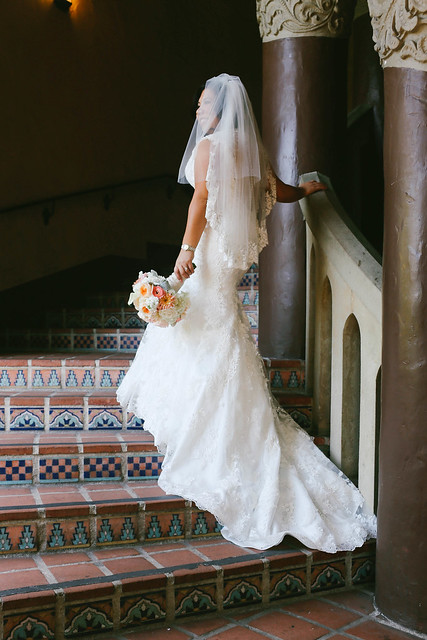
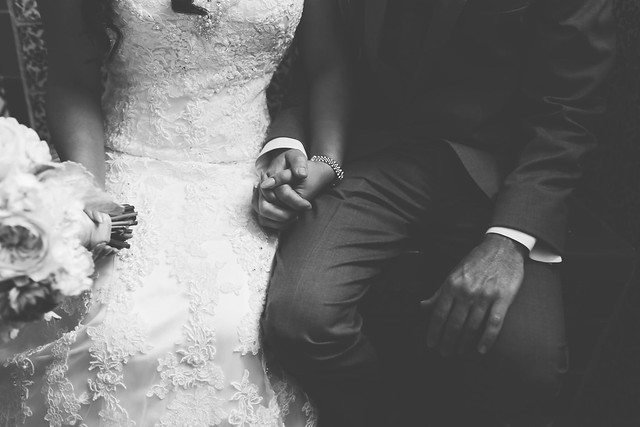
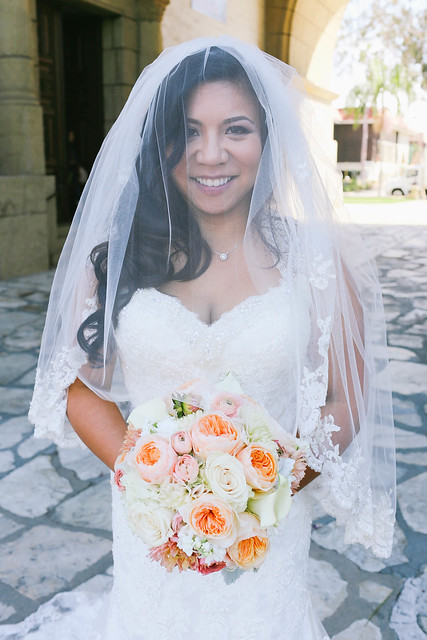
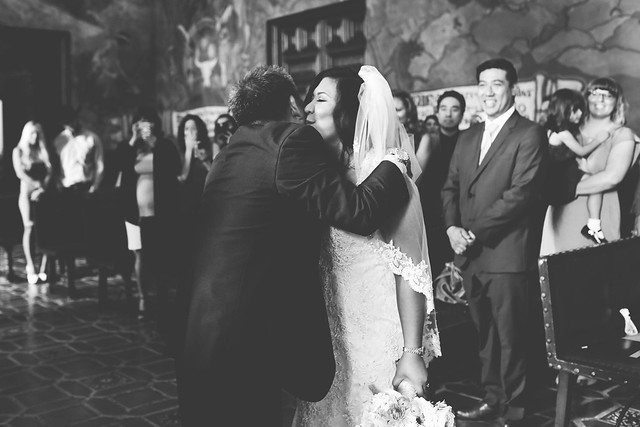
Alaine & Ross
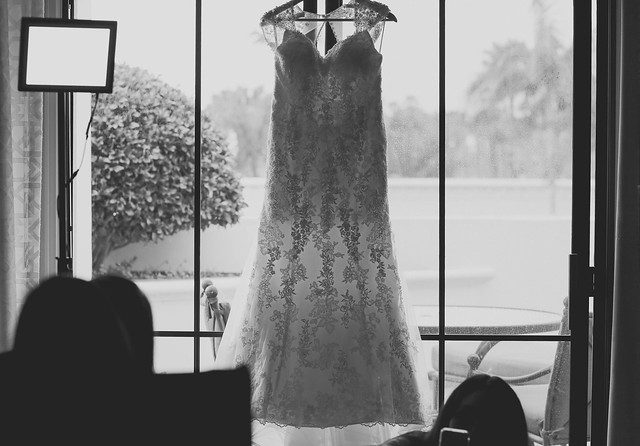
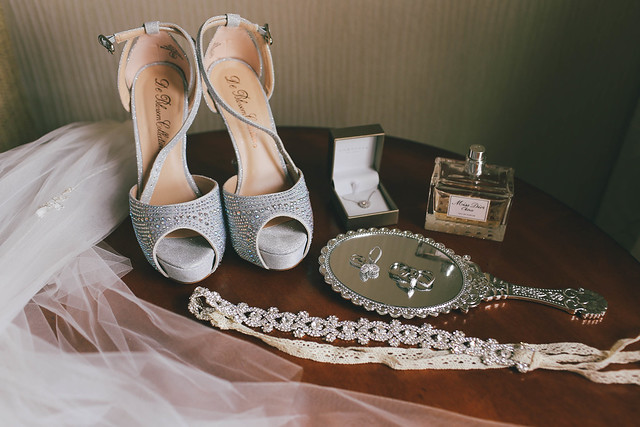
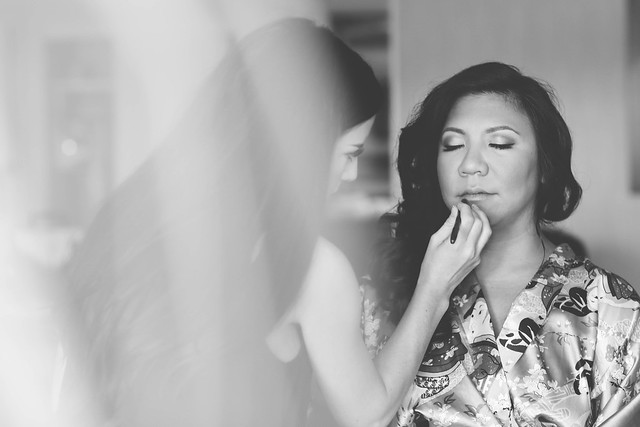
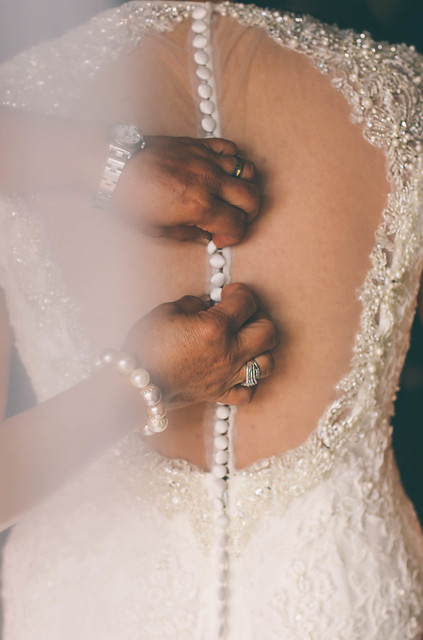
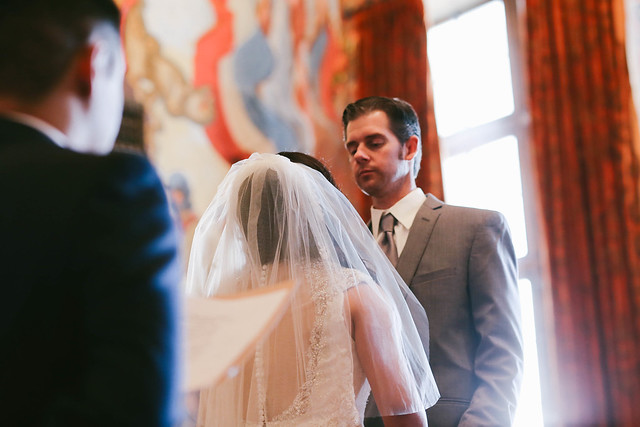
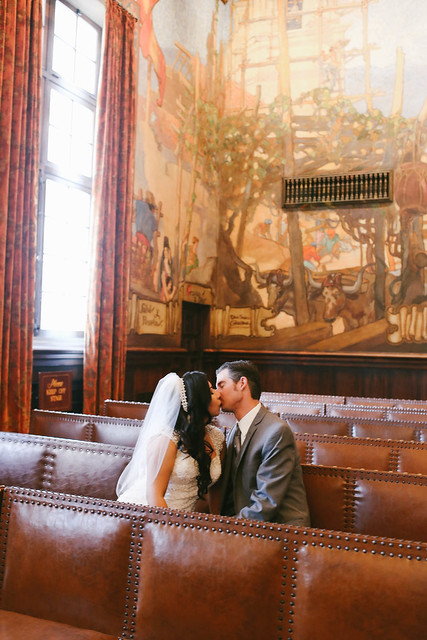
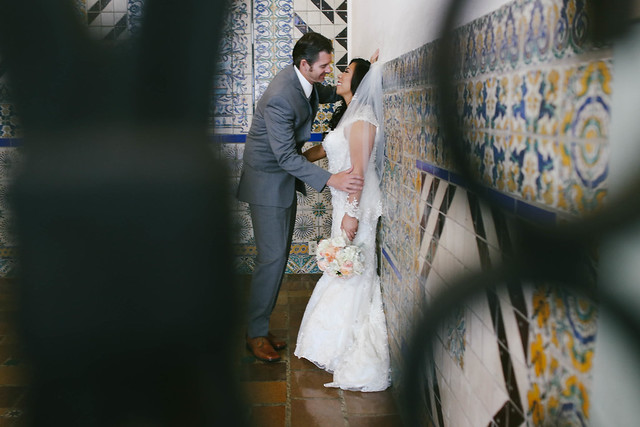
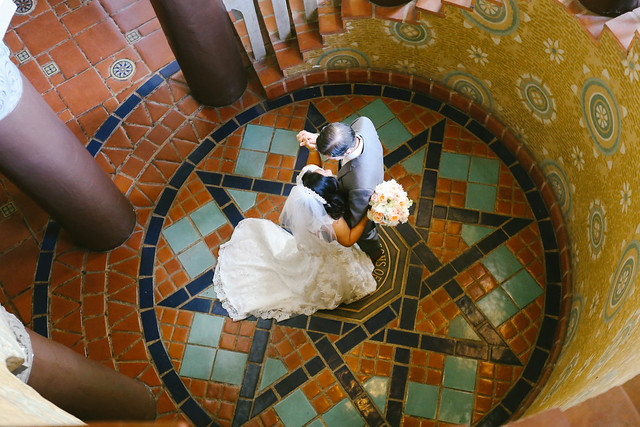
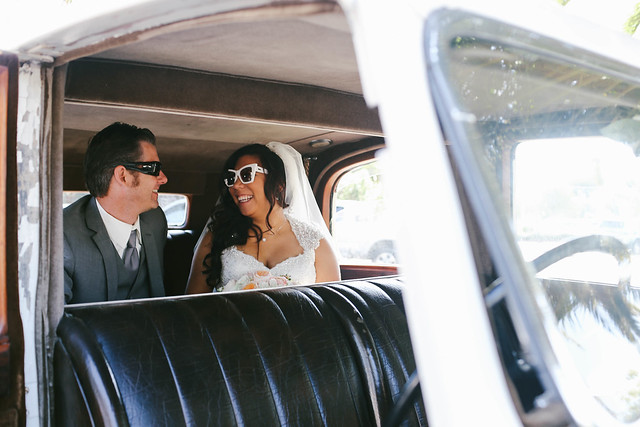
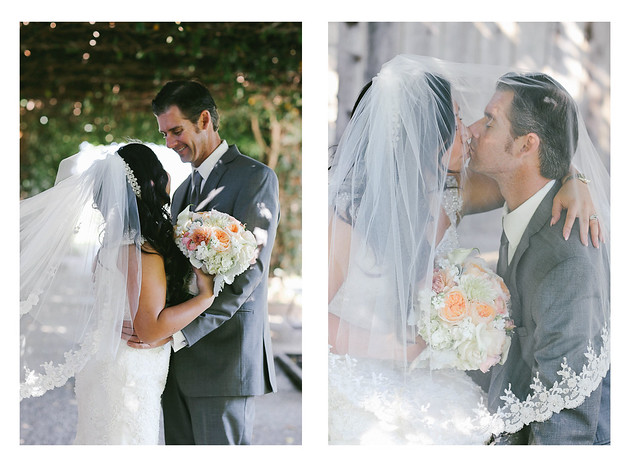
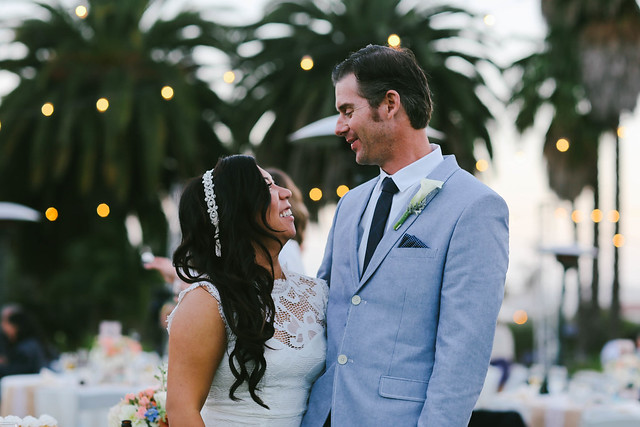
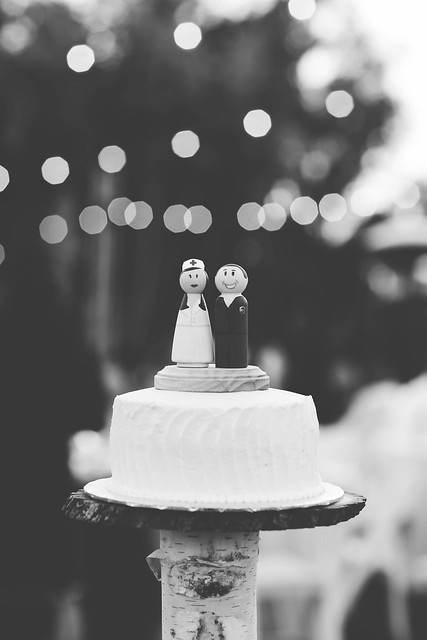
I've always been so hesitant to give wedding photography a shot. Don't have the right camera, the right tools, not my style, blah blah blah. Underneath it all, the majority of these excuses derived from laziness and fear. Laziness to get my butt up to get the tools I needed, and fear of taking horrible photos that would ruin a couple's most memorable day. This year, the perfect couple convinced me to take a chance and photograph their wedding! I hesitated at first, but then realized it was the perfect opportunity! The wedding was small, sweet, and intimate. It was held at the beautiful Santa Barbara Courthouse followed by a reception at the Santa Barbara Zoo! It was perfectly simple - with no bridal party or DJ. The bride's brother officiated the wedding and even played music through a playlist. There were so many personal touches that made it so charming and effortless.
Subscribe to:
Comments (Atom)

